When a standard user uploads files through the user interface (User Upload / Front-end upload), the files must be approved by an editor or administrator before they are published and become visible to others in the image bank.
Note: User Upload is an additional module. If your company wishes to receive more information about this functionality, please contact us at support@imageshop.no.
Activate email notifications for new uploads
You can activate email notifications so that selected administrators or editors are notified immediately when a user has uploaded new files waiting for approval. This is configured as follows:
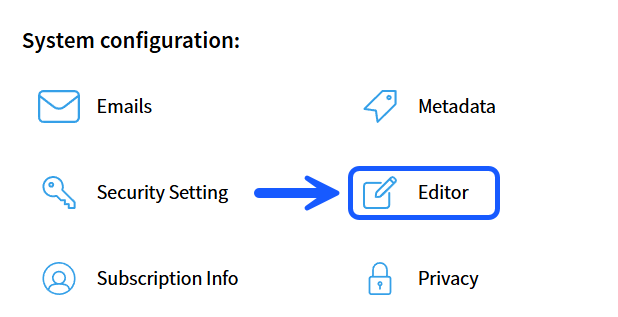
- Click on your name in the top right corner → Select «Configuration» → Click on «Editor» in the menu. Here you can check the boxes for the users who should receive the notifications.
Method 1: Approving or deleting individual files
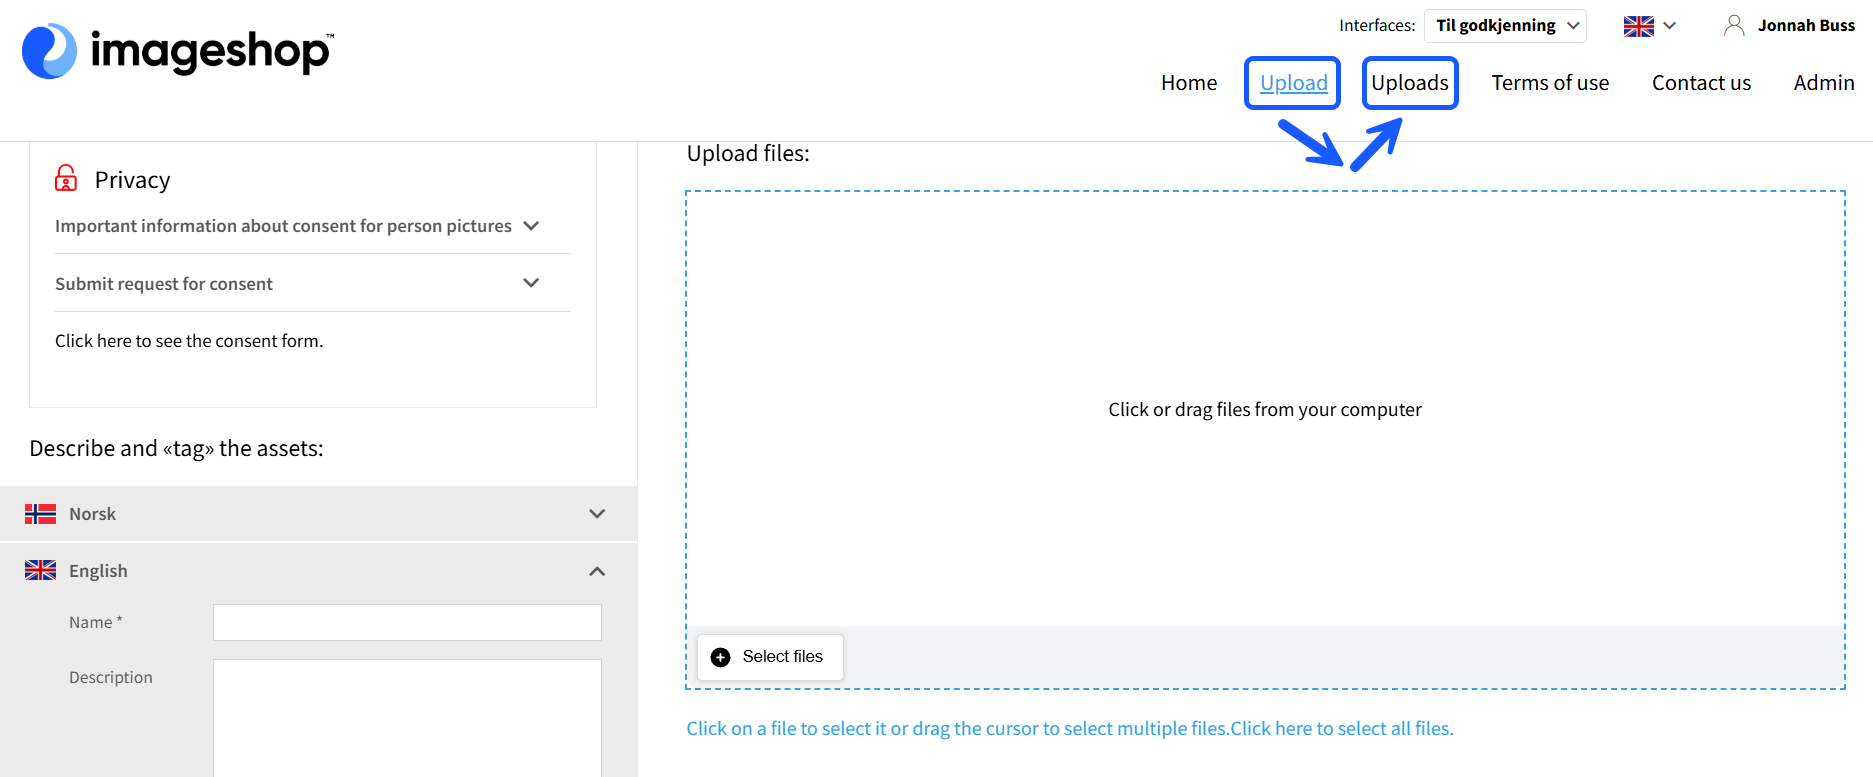
- Go to the main menu, click on «Upload», and then select «Uploads» from the menu bar. Here you will see an overview of all files waiting for approval, including the upload date and who uploaded them.
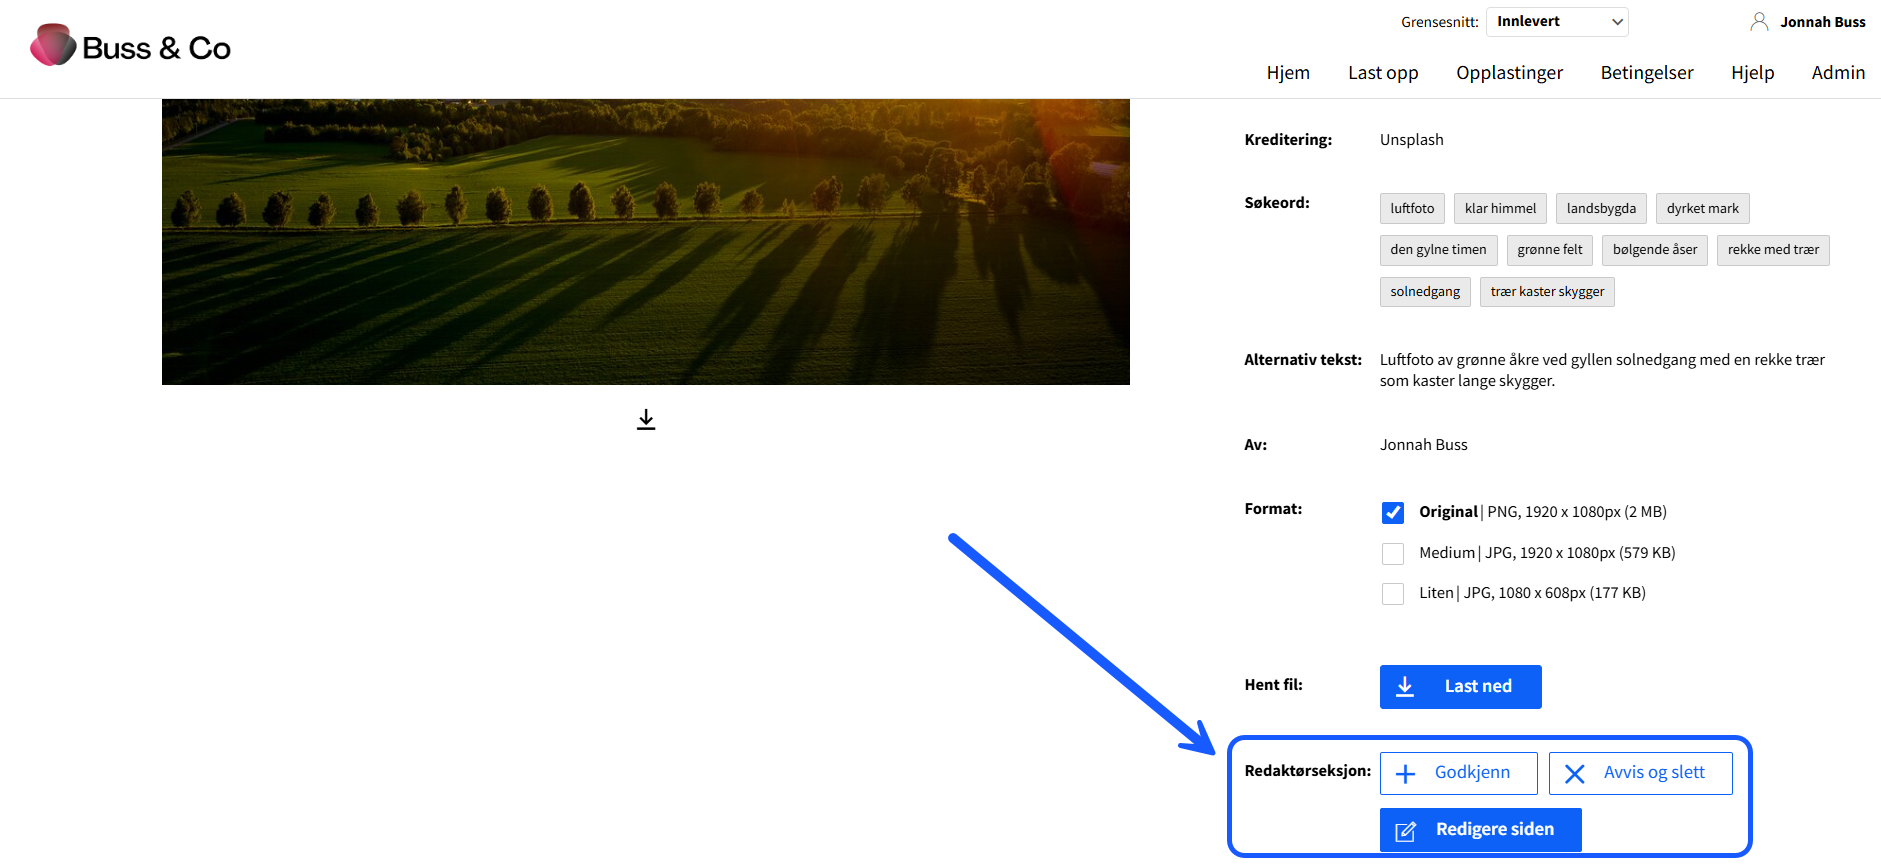
- Click on a file to open it. Here you can verify that the metadata and keywords are correct. To make changes to the information, click on «Edit Page» under the «Editor section». Inside this editing window, you can also approve the image directly after making your changes.
- You can also approve or delete the individual image you are currently viewing directly by using the buttons located under the «Editor section».
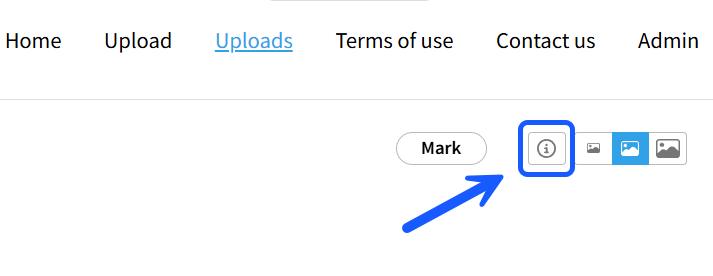
Tip: You can quickly inspect metadata across multiple files directly from the overview page by changing the display mode. Click on the «i» icon (information) in the right-hand corner of the relevant image asset.
Method 2: Approving or deleting multiple files simultaneously (Bulk actions)
- Go to «Upload» → «Uploads».
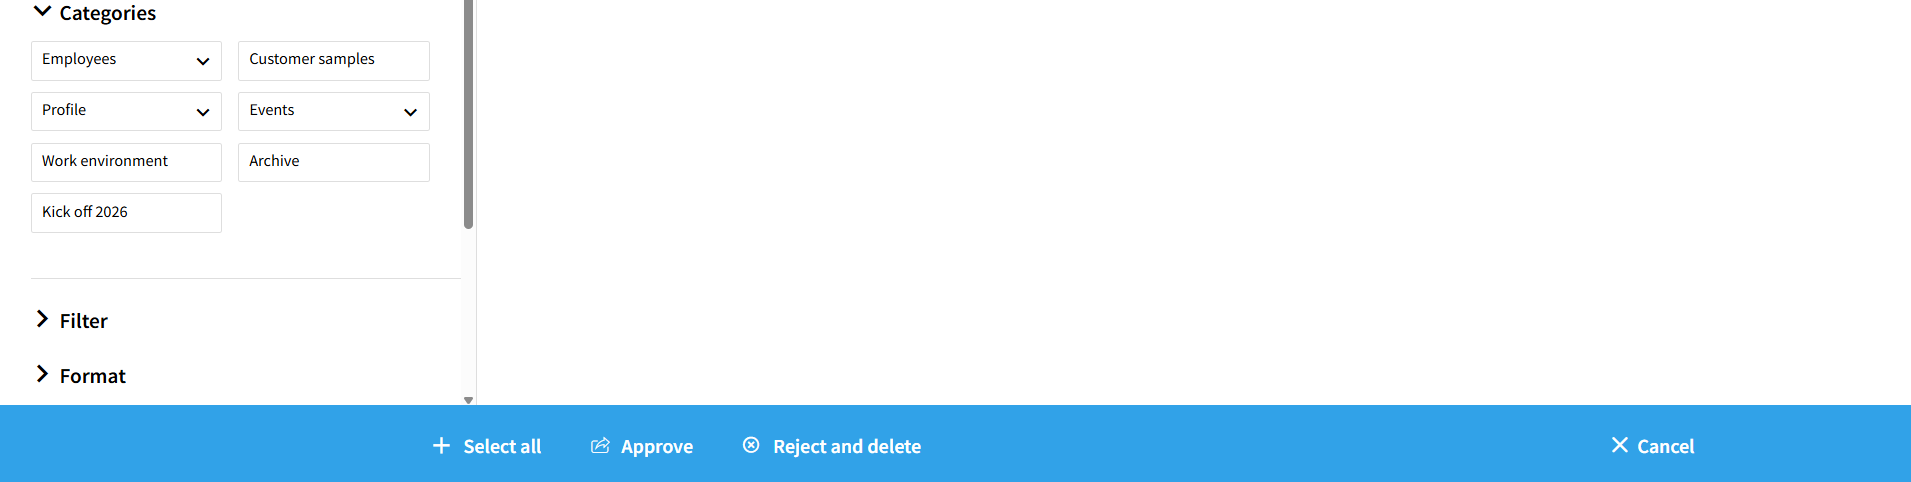
- Click and drag your mouse cursor over the images you want to select, or hold down the Ctrl key on your keyboard while clicking on specific images. If you want to process absolutely all images in the list at once, click the «Select all» button.
- Click either «Approve» or «Reject and delete» at the bottom of the blue action menu.
- If you choose to approve, a window will appear where you must check the boxes for which interface(s) / image bank(s) the files should be distributed to. Then click «Approve» to publish them.
The files are now processed and immediately available in the selected interfaces.