The consent module is an additional module that can be added to your Imageshop solution. If you would like a demo or want to know more about this functionality, please contact us at support@imageshop.no.
Add a new consent person
You can create new consent persons in the system in three different ways, depending on where you are in your workflow:
Method 1: From the consent registry
- Log in to the administration panel (Admin).
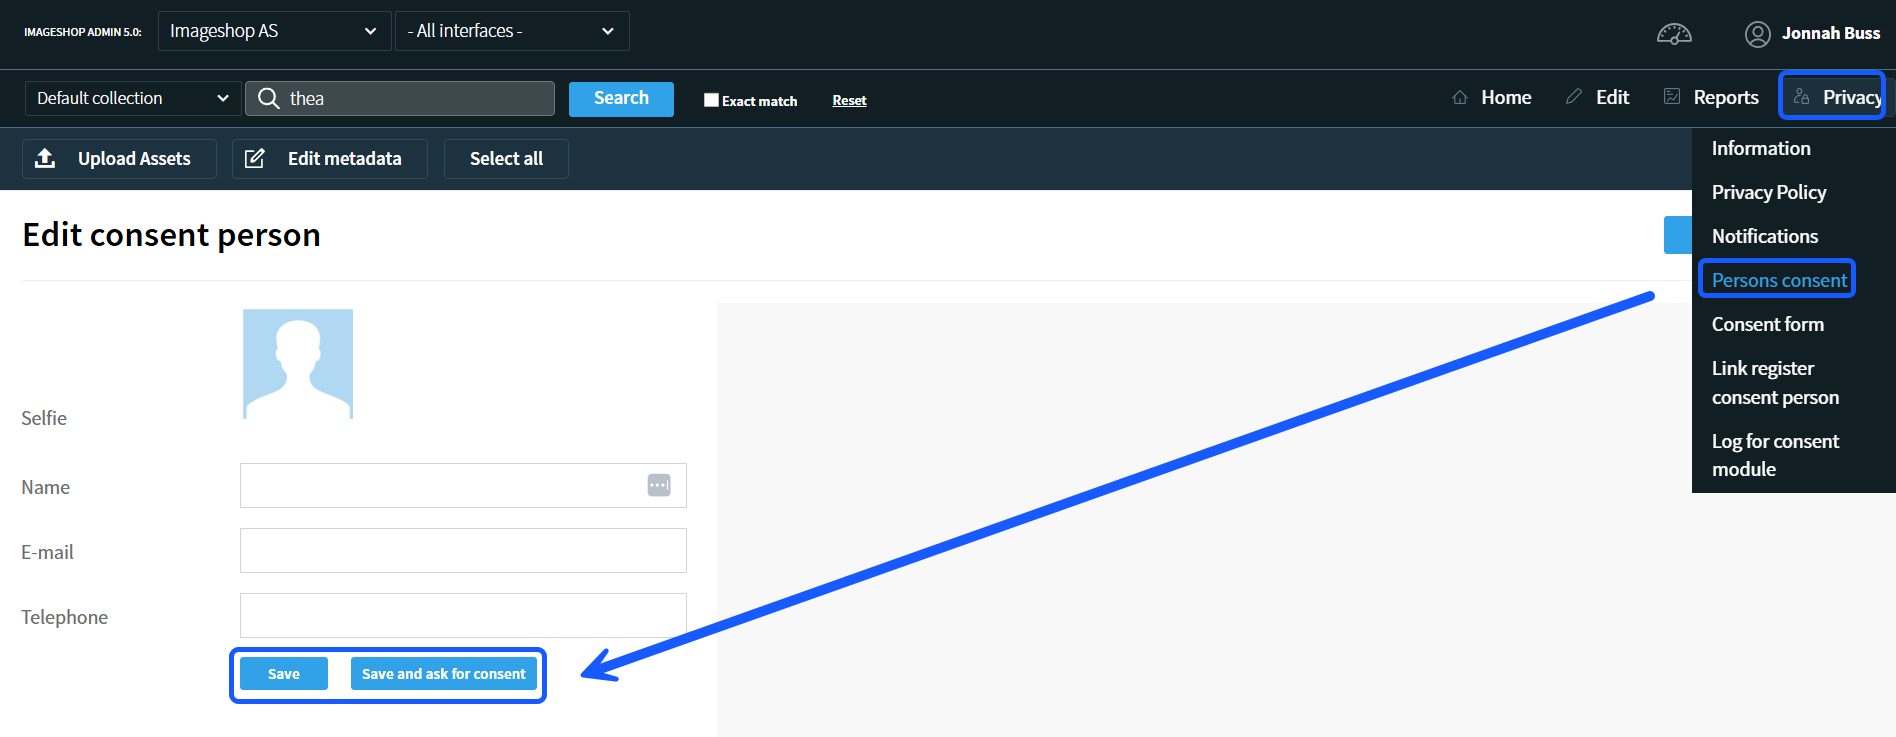
- Click on «Privacy» in the menu and select «Persons consent».
- Click on the button «Add consent person».
- Enter the person's name, phone number, and email address.
- Click «Save».
- To also send out the consent form, click «Save and ask for consent». An email containing a link to the form will then be sent to the registered email address.
Method 2: When uploading in admin
You can create a new consent person directly inside the upload tool. This is especially useful if you are uploading new files of a person who has not been registered in the system before.
- Go to the administration panel and click on «Upload assets».
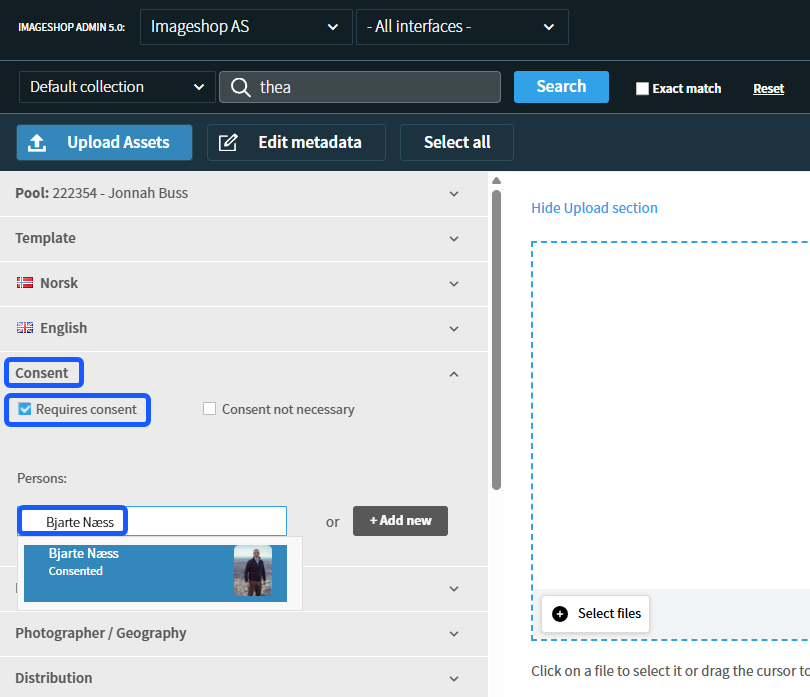
- Under the «Consent» section, click on «+Add new».
- Fill in the name, phone number, and email address in the window that appears.
- Click on «Add and request consent».

Method 3: Through Front-end upload
If your organization uses the «Front-end upload» module, standard users can send out a consent form directly during the upload process within the user interface.
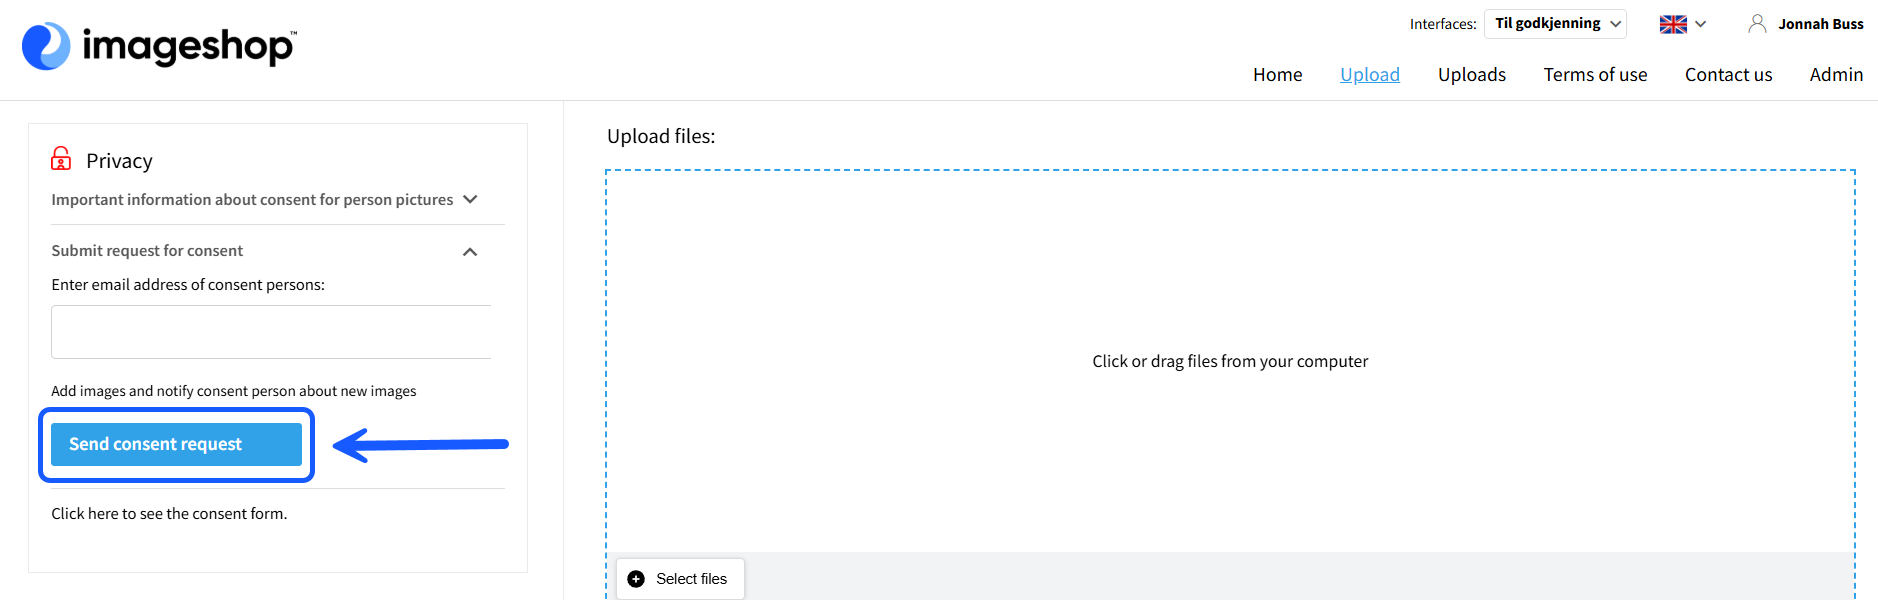
- Click on «Upload» in the main menu of the user interface.
- Enter the email address of the person you wish to send the form to in the field in the top left corner.
- Click the button «Send consent request». The form will then be sent immediately to the provided email address.
Link files to a consent person
For the consent to be legally valid and connected to the correct assets, the files must be linked to the consent person. This can be done in four ways:
Method 1: Use the AI module to link images to the person
(Note: The AI module with facial recognition is an additional module that can be activated on the system at an extra cost.)
- Go to the administration panel (Admin).
- Click on «Privacy» → «Persons consent».
- Search and find the relevant consent person in the registry.
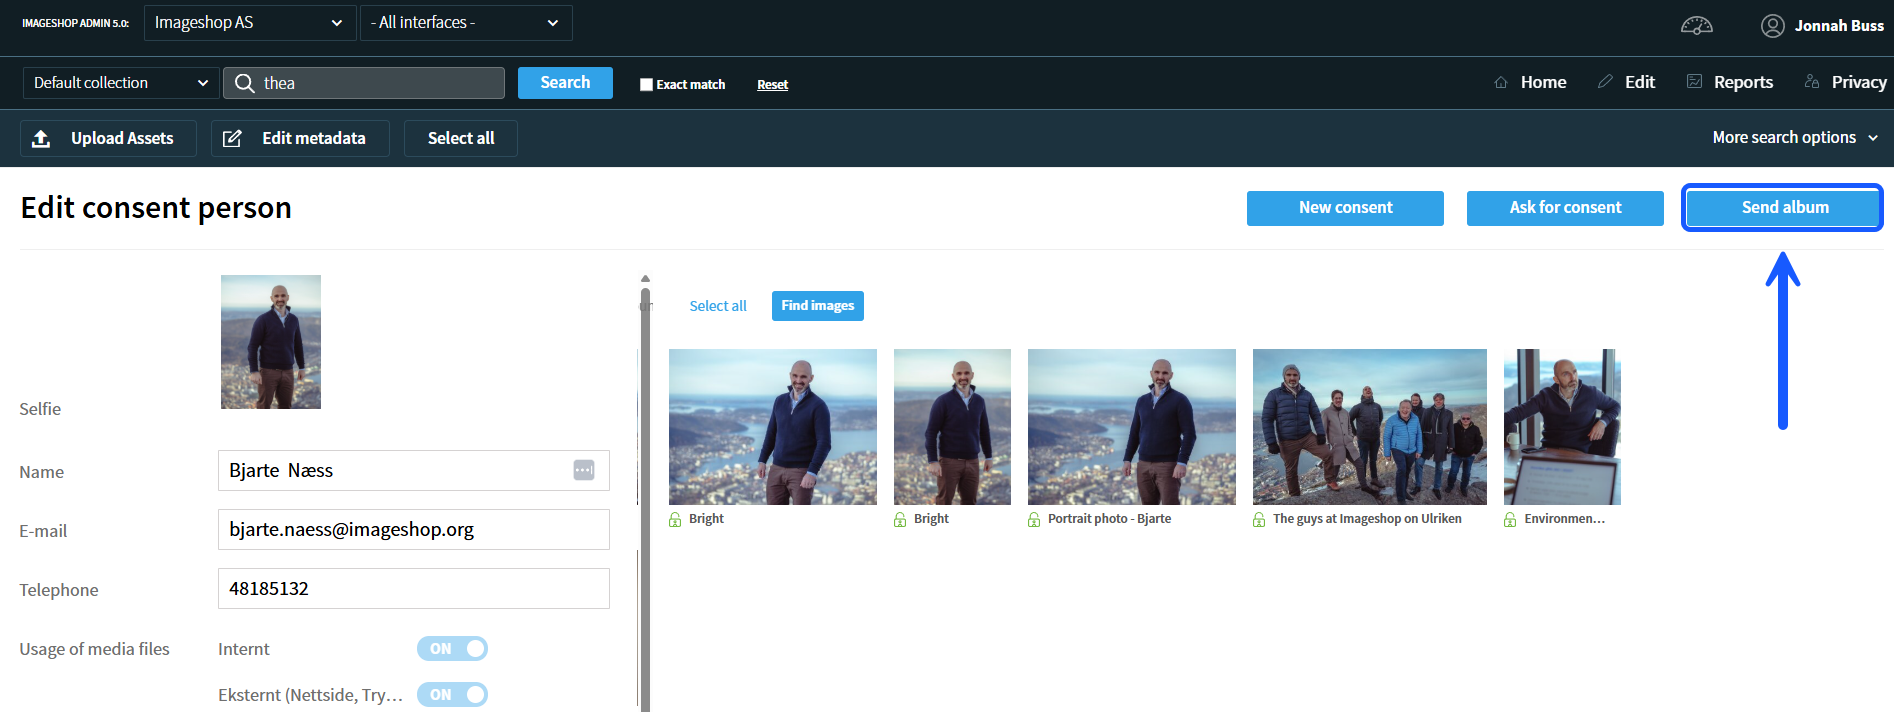
- Click «Edit» on the person's profile.
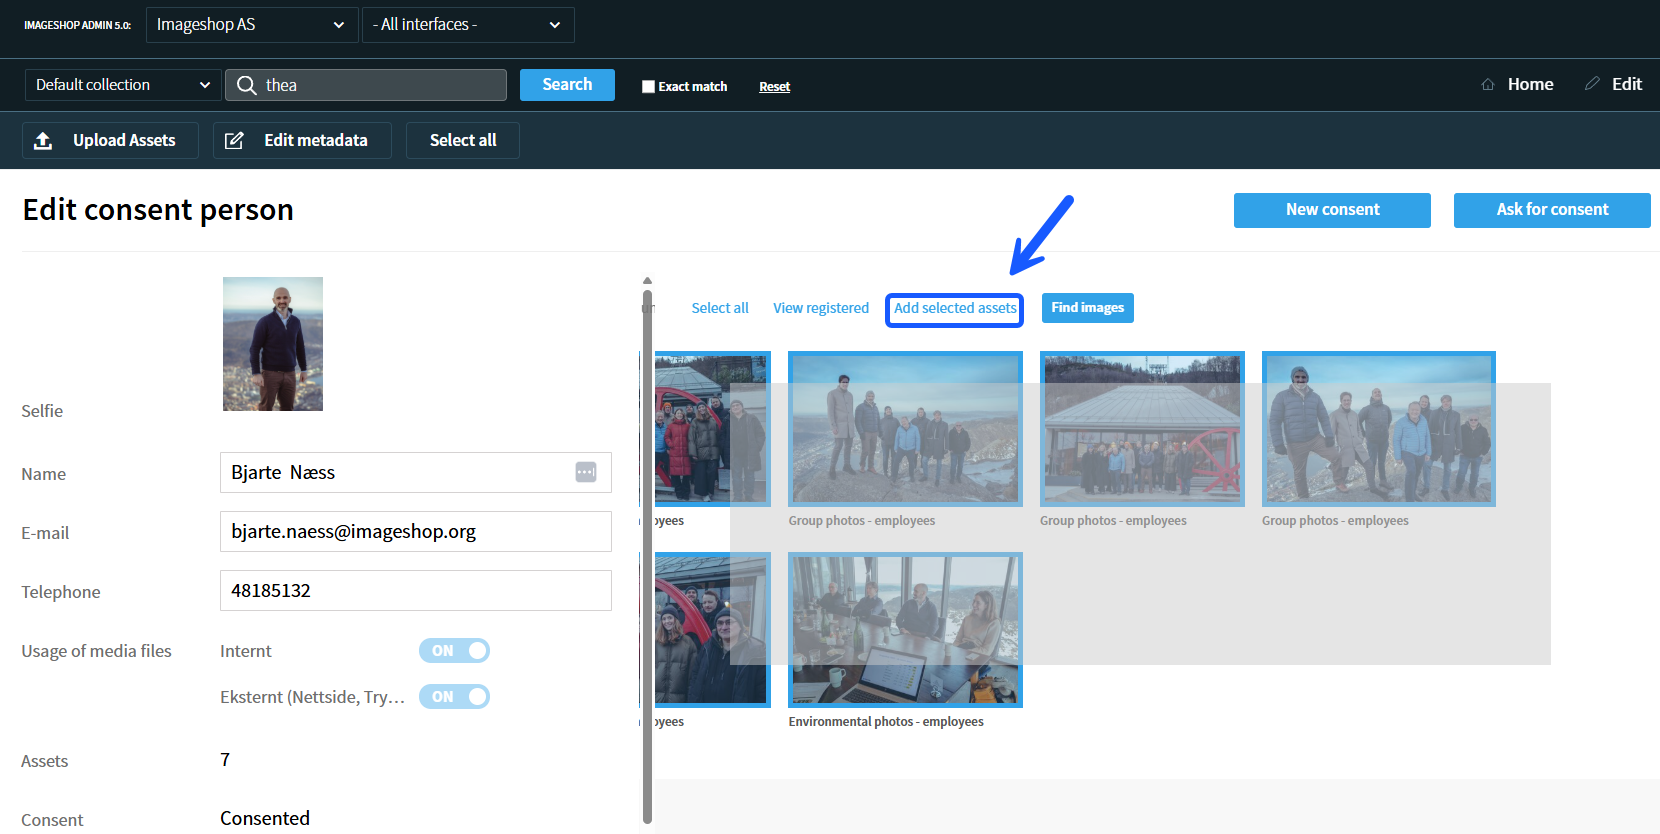
- Click the button «Find photos». The system will then use the selfie from the submitted consent form to automatically scan the database.
- Select the files you want to add selected assets to the consent person, and confirm. The files are now linked to the person's consent.

Method 2: When uploading in admin
- Go to the administration panel and click on «Upload assets».
- Under the «Consent» field, search for the existing consent person by name.
- Click on the person's name in the results list to select them, and then upload the files as usual.
Method 3: Link multiple existing files in the image bank (Bulk)
- Search for and locate the images of the person in the image bank.
- Select all the files you want to link to the consent person and click the «Edit metadata» button.
- Navigate to the «Consent» field in the editing menu and search for the person by name in the same way as described in Method 2.
- Click on the consent person and then select «Add».
Method 4: Link a single existing file
- Search for and click into the specific file you want to link to a consent person.
- Navigate to the «Consent» field on the page, and search for the consent person by name in the same way as described in Method 2.
- Click on the consent person to select them, and finally press «Save».
Overview of saved files (Right of access)
All pictured individuals in the image bank have the right to request access to see which files your organization has stored of them. In Imageshop, this is automatically handled using the album functionality, and we distinguish between external individuals and internal employees.
For external persons without an Imageshop user profile:
You can quickly send an email with a secure link to a dynamic album where the external person receives a full overview of the files they are linked to:
- Go to the administration panel (Admin).
- Click on «Privacy» → «Consent persons».
- Search and locate the consent person.
- Click «Edit» on the person's profile.
- Click the «Send album» button to distribute the access link via email.
For internal users or employees with their own login:
Internal employees who have their own user account and login to Imageshop do not need to be sent an album manually. They can view an overview of their consents and linked images directly within the user interface:
- Go to the image bank user interface (Frontend).
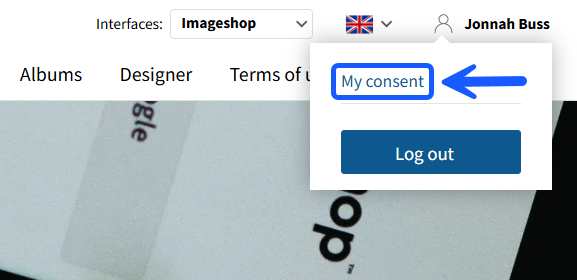
- Click on your name in the top right corner to open the user menu.
- Select the option «My consent» to view your personal overview.